
Candle-Making Tips for Beginners: Create Your Own

Candle-making is a delightful and rewarding hobby that allows you to express your creativity while producing beautiful, fragrant candles for your home or as gifts. If you’re new to this craft, you might feel overwhelmed by the variety of materials and techniques available. Fear not! This guide will walk you through essential tips and tricks to help you create your own stunning candles with confidence.

Understanding the Basics of Candle-Making
Before diving into the candle-making process, it’s crucial to understand the basic components involved. Here are the primary elements you’ll need:
Wax Types
Paraffin Wax: The most common type, known for its affordability and excellent scent throw.
Soy Wax: A natural alternative that burns cleaner and is biodegradable. It’s perfect for beginners.
Beeswax: A premium option that has a natural honey scent and burns longer.
Palm Wax: A sustainable choice that creates unique textures and patterns.
Wicks
Choosing the right wick is essential for a successful candle. Wicks come in various sizes and materials, including cotton and wood. The wick size should match the diameter of your candle to ensure an even burn.
Fragrance Oils
Adding fragrance to your candles can enhance the ambiance of any space. Look for high-quality fragrance oils specifically designed for candle-making. Remember to check the recommended usage rates for each oil.
Colorants
If you want to add color to your candles, you can use liquid dyes, color blocks, or natural colorants. Experimenting with colors can lead to beautiful and unique creations.
Essential Tools for Candle-Making
To get started, gather the following tools:
Double Boiler: For melting wax safely.
Thermometer: To monitor wax temperature.
Pouring Pitcher: For easy pouring of melted wax into molds.
Scale: To measure wax and fragrance accurately.
Stirring Utensil: For mixing in fragrance and color.
Molds or Containers: Choose heat-resistant containers or molds for your candles.
Step-by-Step Candle-Making Process
Now that you have your materials and tools ready, let’s walk through the candle-making process step by step.
Step 1: Prepare Your Workspace
Ensure your workspace is clean and organized. Lay down newspaper or a protective covering to catch any spills. Have all your materials and tools within reach.
Step 2: Measure Your Wax
Using a scale, measure out the amount of wax you need. A good rule of thumb is to use about 1 ounce of fragrance oil for every pound of wax.
Step 3: Melt the Wax
Fill the bottom pot of your double boiler with water and bring it to a simmer. Place the wax in the top pot and stir occasionally until fully melted. Use a thermometer to monitor the temperature; most waxes melt between 170°F and 180°F.
Step 4: Add Fragrance and Color
Once the wax is melted, remove it from heat. Allow it to cool slightly before adding your fragrance oil and color. Stir gently but thoroughly to ensure even distribution.
Step 5: Prepare the Wick
While the wax cools, prepare your wick. If using a container, secure the wick to the bottom using a wick sticker or a small amount of melted wax. For molds, you can use a wick holder to keep it centered.
Step 6: Pour the Wax
When the wax temperature is around 140°F to 150°F, carefully pour it into your prepared container or mold. Leave a small amount of wax in the pot for topping off later if needed.
Step 7: Allow to Cool
Let the candle cool completely at room temperature. This may take several hours. Avoid moving the candle during this time to prevent imperfections.
Step 8: Trim the Wick
Once the candle is fully cooled, trim the wick to about 1/4 inch above the wax surface. This will help ensure a clean burn.
Tips for Successful Candle-Making
Experiment with Scents: Don’t be afraid to mix different fragrance oils to create your unique scent blends.
Test Your Candles: Always burn-test your candles to see how they perform. This will help you adjust wick sizes and fragrance amounts for future batches.
Keep Notes: Document your recipes and processes. This will help you replicate successful candles and learn from any mistakes.
Be Patient: Candle-making can take practice. Don’t get discouraged if your first few attempts don’t turn out perfectly.
Common Mistakes to Avoid
Using the Wrong Wick Size: A wick that is too small will result in a weak flame, while one that is too large can cause excessive soot.
Overheating the Wax: High temperatures can affect the scent throw and color of your candles.
Skipping the Cure Time: Allow your candles to cure for a few days before burning to enhance the fragrance throw.
Creative Candle Ideas for Beginners
Once you’ve mastered the basics, consider trying these creative candle ideas:
Layered Candles
Create a visually stunning layered candle by pouring different colors of wax in layers. Allow each layer to cool slightly before adding the next.
Scented Candles with Herbs
Incorporate dried herbs or flowers into your candles for added texture and fragrance. Just be sure to use herbs that are safe for burning.
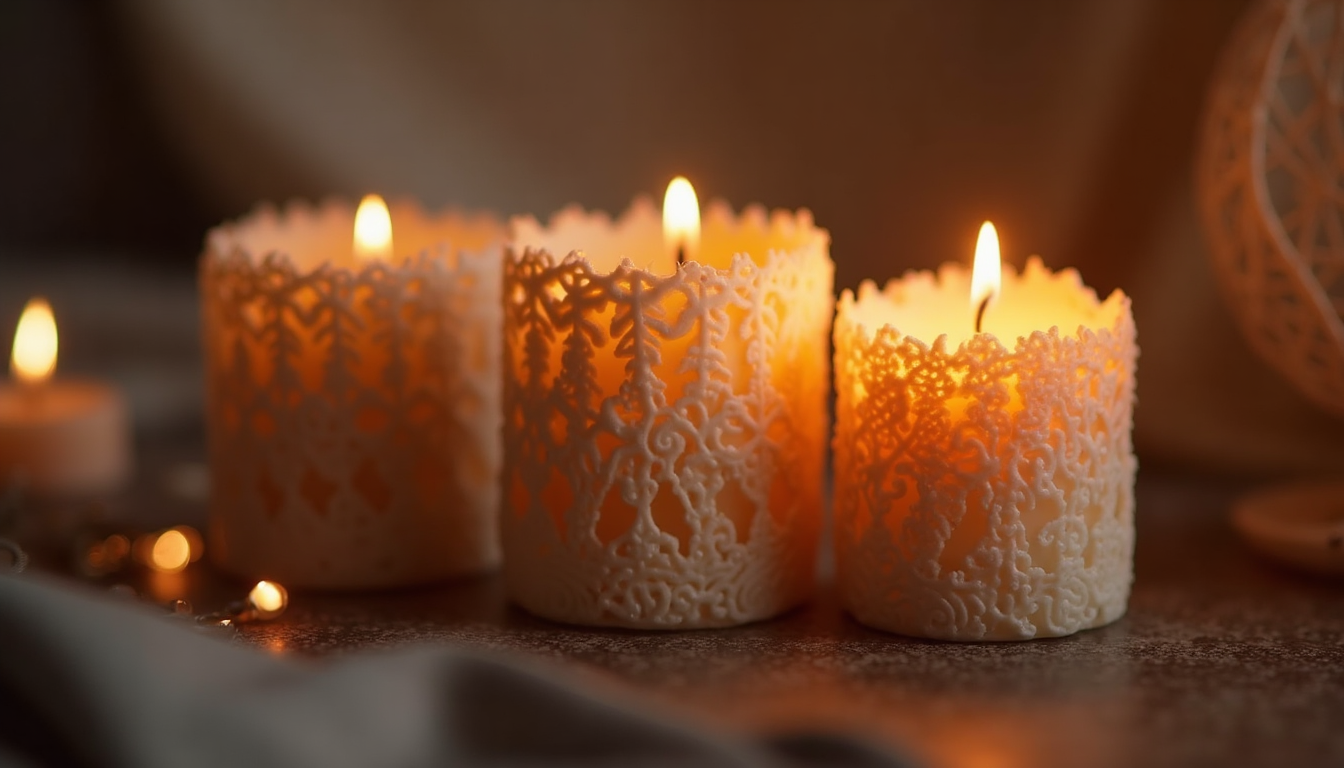
Decorative Molds
Use silicone molds to create unique shapes for your candles. This can add a fun twist to your candle-making projects.
Conclusion
Candle-making is a fulfilling and enjoyable craft that anyone can learn. By following these tips and techniques, you’ll be well on your way to creating beautiful candles that brighten your home and make thoughtful gifts. Remember to experiment and have fun with the process. Your creativity is the only limit!
Now that you have the knowledge, gather your materials and start your candle-making journey today! Happy crafting!
Comments